Rentalist.pro supports up to 3 active properties. Each property has its own bookings, expenses, pricing, budget, and settings. Most screens also offer an "All Properties" combined view so you can see your full portfolio at a glance.
Go to Settings and click the + tab to add a new property (up to 3 total). When adding a property, you can:
- Start fresh — Enter all settings from scratch.
- Clone from an existing property — Copy fee structures, tax settings, payment schedules, seasons, and other configuration from a property you've already set up. This saves time when your properties have similar settings.
Once you have more than one property, a property bar appears at the top of each screen. Click a property name to switch to it. On most screens, you'll also see an "All Properties" option that shows combined data. The property you select stays active as you navigate between screens. If you're looking at expenses for "Beach House," clicking over to Bookings will also show "Beach House" bookings.
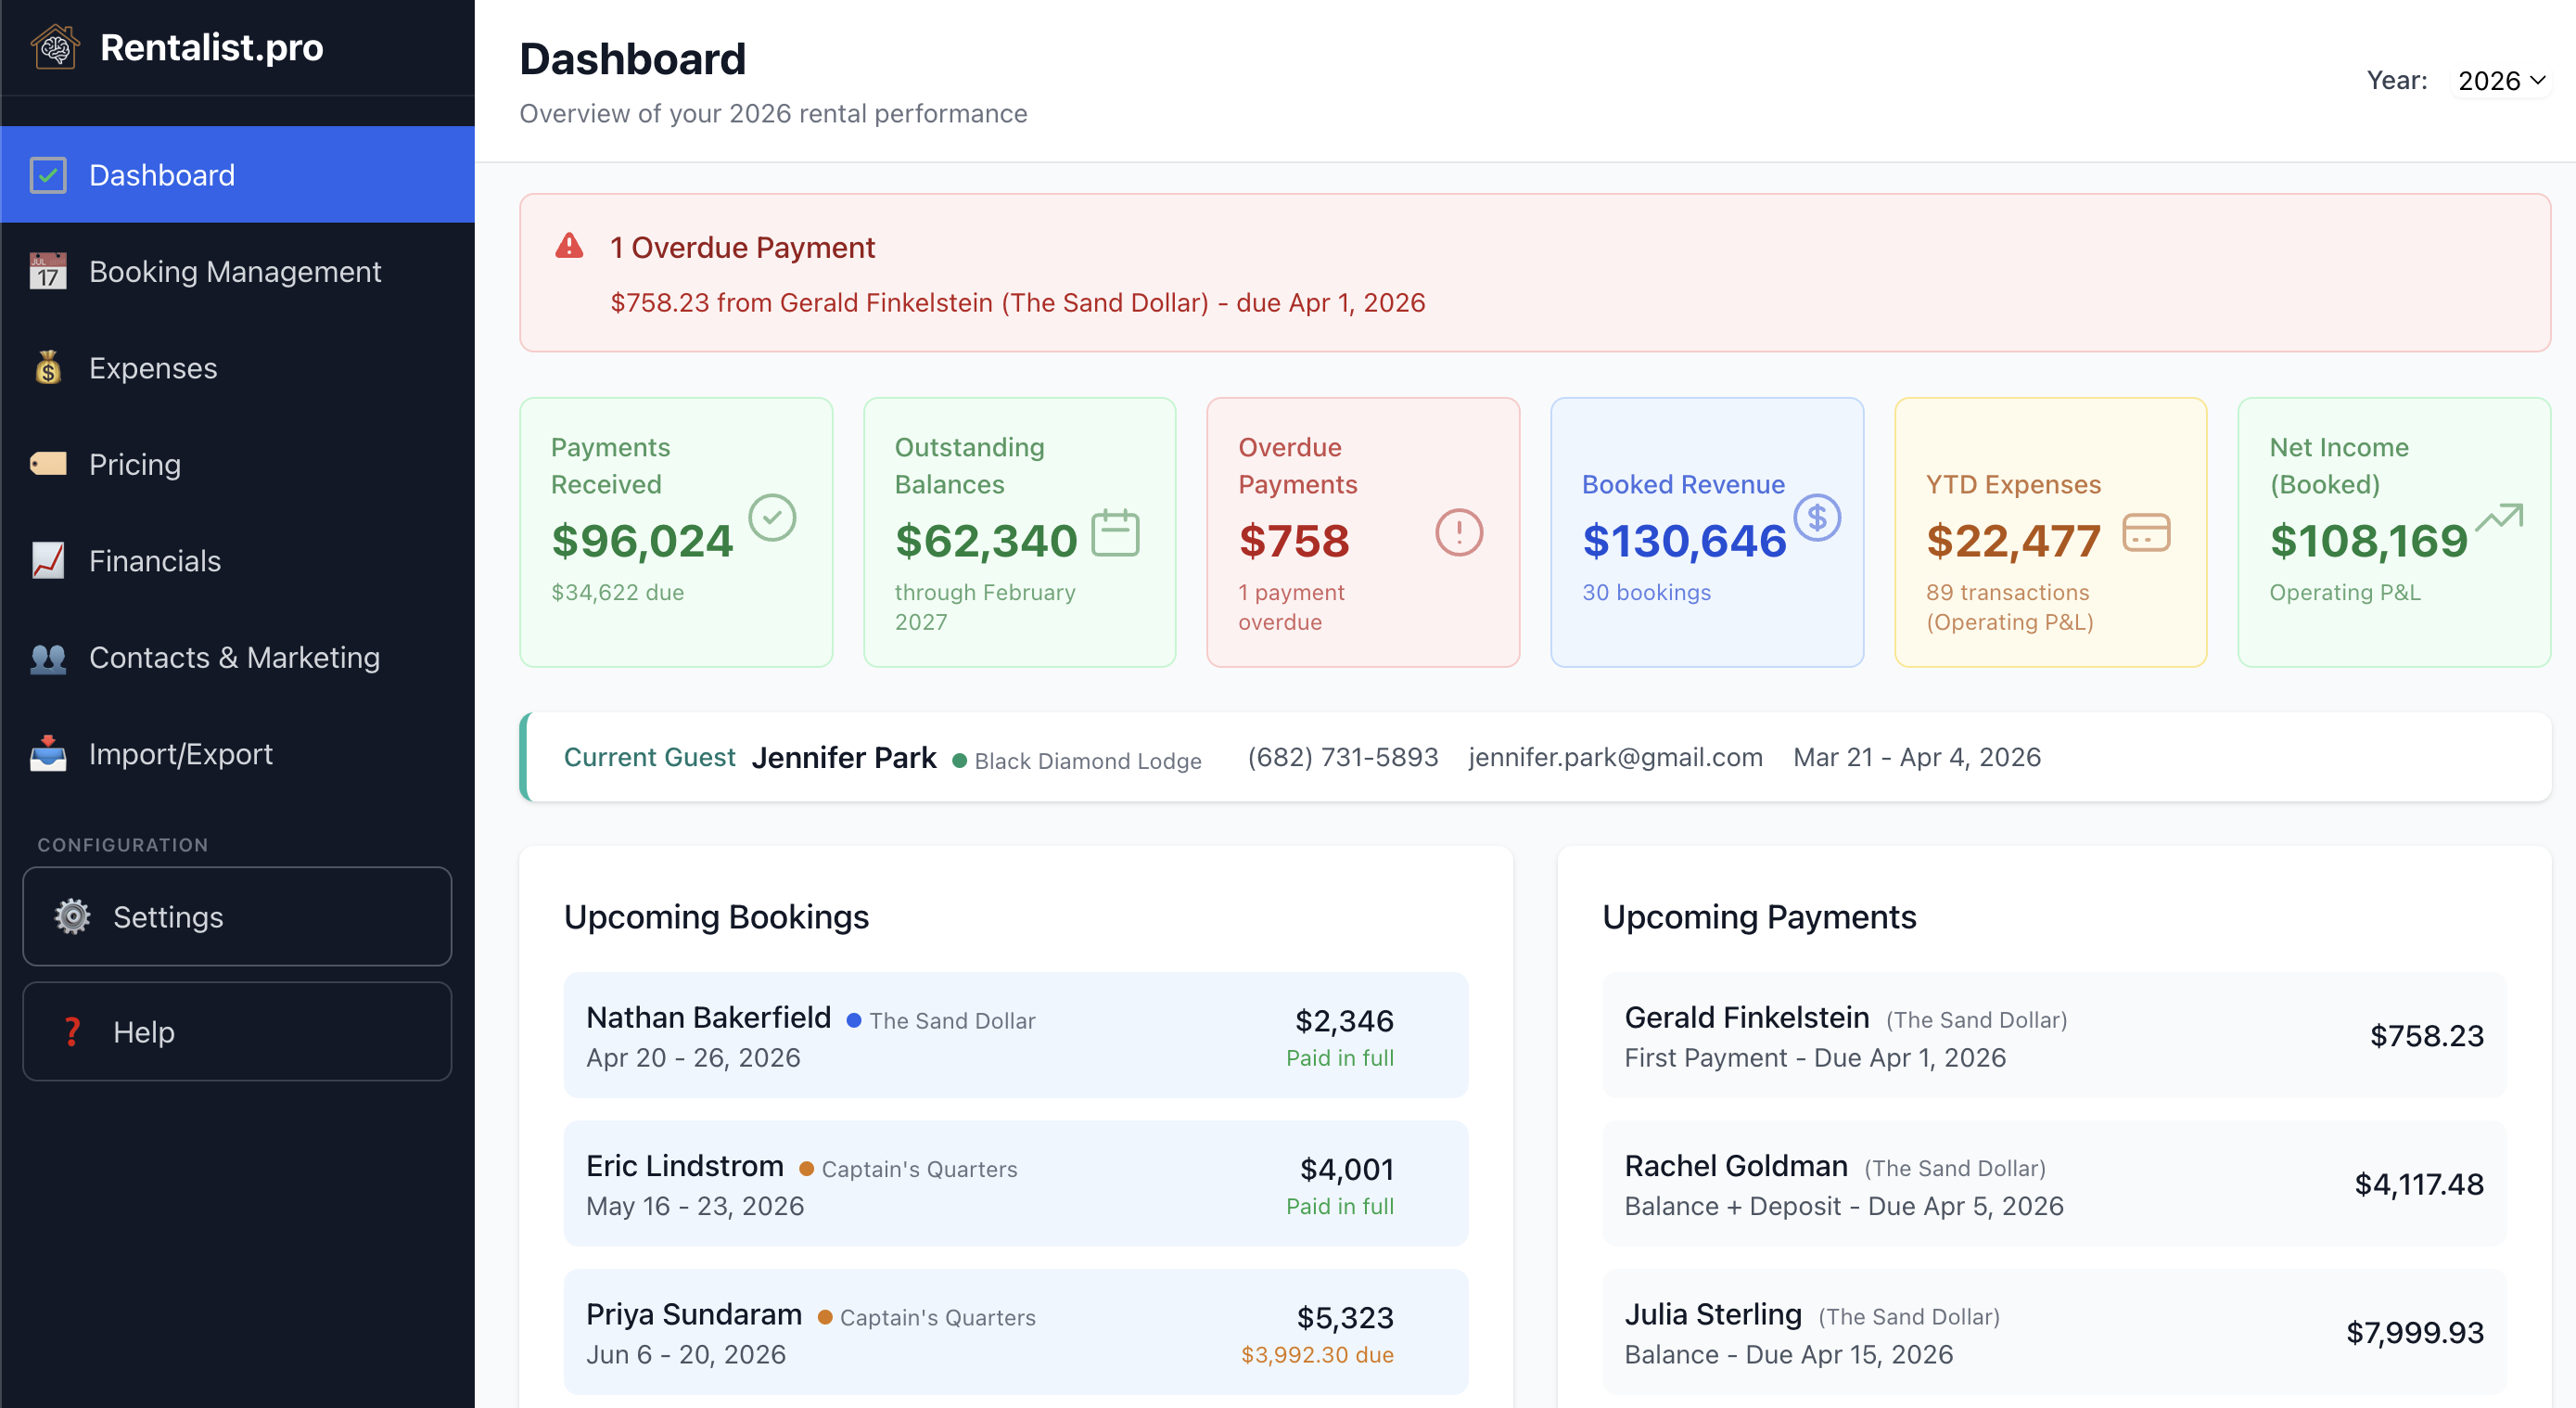
- Dashboard — Shows data for the selected property. Select "All Properties" to see combined revenue, expenses, and net income across your entire portfolio.
- Bookings — When creating a new booking, you select which property it belongs to. Once a booking is saved, its property cannot be changed. Bookings are filtered by the selected property in the property bar, or you can view all bookings across properties.
- Expenses — Each expense needs a property assignment: Single Property (the full amount belongs to one property, select which one) or Split Evenly (the amount is divided equally across all your active properties, use this for shared costs like an accountant fee or a joint insurance policy).
- Budget Setup — Budget Setup is always per-property. Set up a separate budget for each property. There is no combined "All Properties" budget — each property's finances are planned independently.
- Budget vs. Actuals, Tax Summary, Analytics — These screens show data for the selected property. Tax Summary shows a column for each property so you can see per-property income and expense breakdowns side by side.
- Pricing — All pricing is per-property. Use the property bar to switch between properties. Each property has its own Calendar rates, Plan Next Year settings, Platform Pricing overrides, and Entry Guide.
- Contacts & Marketing — Each contact shows which properties they've stayed at, so you can see cross-property guests. Inquiries can be filtered by property. Mailing lists can be filtered by property — set your property filters before generating a list to target guests of a specific rental.
- Import Data — When importing, you select which property the data belongs to. For multi-sheet workbooks, you can assign different sheets to different properties. You can also create a new property during import if needed.
When you clone a property, its settings mirror the source property. This means changes to the source property's fee structure, tax settings, payment schedule, or seasons automatically apply to the cloned property too.
You can stop mirroring any settings section at any time to make it independent. When you stop mirroring, the current values are copied to the property's own storage — nothing is lost. Mirroring works per section. For example, "Beach House" might mirror "Lake House" for fees and taxes but have its own independent seasons and payment schedule.
- Financial Excel export — Includes a tab for each property plus a Combined Totals tab so you can see everything in one workbook.
- Pricing exports — Export rates for whichever property is currently selected in the property bar.
- Mailing list exports — The export reflects your current filters. Set your property and other filters before generating and exporting the list.
In Settings, you can archive a property you're no longer renting (keeps the data but removes it from active views) or delete it entirely. Archived properties don't count toward the 3-property limit.
- Import historical data first. Before entering current-year bookings, get past years imported. Even two or three years transforms Analytics from colorful charts into actual insight.
- Enter bookings completely. Guest info, all fees, tax, deposit, payments. More work upfront, but Dashboard, Analytics, and tax summaries are all accurate.
- Categorize expenses as you enter them. Takes seconds now, saves hours at tax time.
- Check Budget vs. Actuals monthly. Surprises are easier to handle early.
- Keep inquiries, including lost ones. Conversion rate is useful, but only if you're tracking who didn't book.
- Use the Operating P&L view. Cash flow shows what happened to your bank account. Operating P&L shows whether the rental business is profitable — which matters for long-term decisions.
- Set up your primary property first, then clone. If you have multiple properties, get one fully configured before adding the second. Cloned properties mirror the original's settings, saving you setup time.
- Use "All Properties" view in financials. It shows your combined portfolio performance so you can see the big picture alongside per-property details.